Wobbly Otter Outdoors Videos
X-Bull Recovery Boards Installed on Morris Mule Trailer
- Details
- Written by Cris
- Hits: 6422
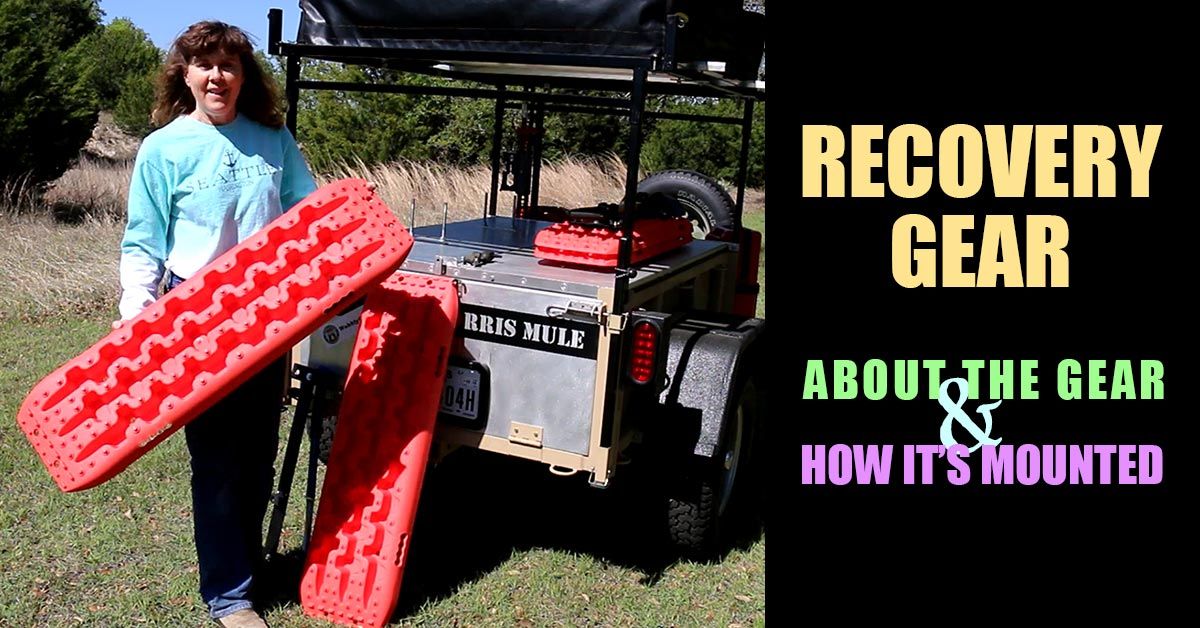
We show you how we mounted the new recovery gear on our Morris Mule trailer (George), share a bit about the materials used, and information about the gear itself.
In the video below, you'll see the recovery gear mounting brackets, their assembly, as well as the X-Bull boards, Estwing Axe and shovel put in place.
Thank you for watching. We hope you'll subscribe to get the best Wobbly Otter adventures, how to's, and gear reviews delivered directly to you.
Recovery boards can be expensive. Through his research, Bill discovered the X-Bull recovery tracks. Each set of two comes at a reasonable price for this type of equipment, and the reviews on Amazon indicate they will work well for our purposes. Bill purchased two pairs of the X-Bull recovery tracks.
X-Bull Board Specs
- Each board: 46.8 x 12.48 x 2.14 inches
- Colors: orange, black, blue, green, olive
- Reinforced strong nylon
- 10-ton load capacity on flat ground
- 6 comfortable side handles
- 4 mounting points
- Zippered carry bag
Where to Mount the Recovery Boards
Okay, now that we have the recovery boards, where are we going to put them? Seriously, this question garnered a lot of discussions. The four boards nest with one another which is helpful, though they are still bulky. Following are some of the ideas that didn't make the cut, and why.
Roof rack of Ike (Ike is our Hummer H3T pickup) - The boards are too long to fit the inside our roof top rack/basket.
In Ike's bed - The boards take up a LOT of room in a 5-foot bed. The truck bed is premium space that we didn't want to lose.
Inside George - Same issue. The boards take up a lot of space inside the trailer. We have a good system of packing George with our weather-tight totes (gear boxes) and putting the recovery boards in there messes that up.
In a Bag on the Front of George - We have a large bag with straps that fit over the spare tire of the trailer. The purpose of the bag is to haul firewood into camp and trash out of camp. The boards slide into the bag, lengthways up and down. While they do fit, they stuck up in the air a good bit and then we can't use the bag to haul firewood and trash anymore.
Mounting the Recovery Boards on the Morris Mule Trailer
Ultimately, the decision was made to put the X-Bull recovery boards on the top doors of George. The trailer's top doors open up and out like wings. Two stacked boards are mounted on one door. The other two boards are stacked and mounted on the other top door.
The Concerns
The easiest way for us to make brackets and mounts for the boards is to drill holes in the top of the trailer doors. This is not something we take lightly. While George isn't water-tight, we do not want to make it easier for water to get inside. To minimize and hopefully prevent water from entering, silicone is applied between the aluminum mounting plates and the trailer doors.
When open, there are chains that hold the top doors up so that they become nice tables, good work areas. The bolt heads and aluminum strips make for bumps on the table. We decide this is a minimal issue.
Theft is a concern. Half inch x six-inch bolts are used to run through the boards. The original idea was to drill a hole through the end of the bolt and run a lock through the hole. We added more gear (axe and shovel) on top of the recovery boards, so this idea was abandoned.
The Mounting Hardware
The mounting hardware is purchased from Tractor Supply and Home Depot. Tractor Supply is the only place locally we could find that carries the half inch by six inch tap bolts. Large wing nuts are the top fasteners that hold everything in place. Aluminum plates are chosen to put on either side of George's doors both for reinforcement and as a metal that will not react with the aluminum-base metal of the trailer doors.
Steel is used for the bracket that goes on top of the recovery boards, holding them down in place. We paint the steel with Rustoleum Truck Bed Coating spray paint. We've used it to paint other items on the trailer, and we like it.
To round out the gear, Bill adds a shovel and an axe. The 26" Estwing Camper's axe goes on top of one pair of boards; the shovel goes on top of the other pair.
Quick Fists are bolted on top of the bracket that holds down the boards. Two original size Quick Fists hold the shovel. One original sized and one mini Quick Fist hold the axe. Each Quick Fist clamp supports 25 pounds (11 kg). They are UV resistant and made of heavy duty transportation grade rubber.
Placement Considerations
The recovery gear is mounted on the door closer to the hinge side to make it as easy as possible to open the door, now that it has added weight.
The six-inch bolts are located so that when no recovery gear is on them, and the doors are open, the end of the bolts do not press on the fender, so no damage is done.
When the recovery gear is in place (minus the shovel), and the doors are opened, the rubber Quick Fists rest on the fender, so no damage is done.
Disclosure: Some of the product links above are affiliate links, and at no additional cost to you, we may earn a small commission if you make a purchase after clicking through the link. By using these links you help support Wobbly Otter Outdoors. Thank you.
If you'd like to support Wobbly Otter Outdoors all you have to do is watch our videos. Okay, here are some other ways to support us too.